Saturday, November 20, 2021

I finally made a Roscoe Blouse! I think I might be the last sewer to do so and of course I'm wondering why I waited so long.
There's not much to say about this pattern that hasn't already been said. I made a size smaller than I measured because, I'd read there was a lot of room in it (and I'm glad I did), and followed the pattern exactly as written. 
I used fabric from The Block Prints on Etsy which I bought a couple of years ago. It has the perfect drape for this pattern. 
I'm really happy with it and need to search the stash for some voile to make another one!


Tuesday, November 09, 2021

Style Arc Joan Top

The start of the sewing summer - a Style Arc Joan Top. I used a voile from the stash which I think came from Tessuti a couple of years ago.
I made it straight from the pattern, using the size I normally use, and it fits really well. The only think I'd change is to add a couple of cm to the length (or I might just make a pair of slightly high waisted pants to wear with it).


Tuesday, October 19, 2021

Merchant and Mills Ellsworth Shirt

I made it without any modifications, just to test it out. The only modification I would make, if I made it again, would be to add an inch to the length, especially at the front. I was between sizes so I decided to size down as it is so roomy, and I am glad I did.
There is not much else to say. The instructions are good, I love all the linen from Potter & Co, and I found the perfect green buttons in my stash. I definitely recommend making one.


Saturday, June 12, 2021

Autumn Daisy - a foundation paper pieced pattern

Introducing my latest foundation paper pieced pattern - the Autumn Daisy!
The pattern includes templates for two finished sizes - 8"x8" and 10"x10".
You can find the pattern in my shop
I made 9 of the daisies using Ruby Star Society fabric to make this sweet little quilt. 

A single block would be great as a pot holder or used to make a pouch. 
 It's such a fun pattern to make and works equally well in solids or prints.  


Friday, June 11, 2021

Tulips and Hearts Paper Pieced Patterns

While finishing off my latest foundation paper pieced block pattern (a flower - coming soon, hopefully tomorrow!) I realised I had never blogged by heart or tulip patterns. 
So here they are!
A lovely heart block, in several different sizes - 6"x6", 8"x*' and 6"x8". 
You can find the pattern for sale in my shop


A Tulip block in two sizes - 4"x6" and 6"x8". Find the pattern here. 


Friday, May 21, 2021

Fibonacci quilt

As a Science teacher I love the idea of quilts with links to Maths and Science. This Mini quilt is based on the Fibonacci sequence. 
This was a fun project - I used scraps of solids and kept adding blocks until it felt like a decent size. 
I'm definitely a convert to spray basting after quilting this quilt. So much quicker when you don't have to remove safety pins and so many less wrinkles. 
I think this might be oft hang in my Science Lab for a while!


Saturday, May 15, 2021

Spray Basting Quilts

I've always pin basted my quilts, and it's always been my least favourite part of the quilting process. So instead of continually whinging about it I thought I should try spray basting. 

Best decision. So much easier and my quilt tops are so much smoother. 

I've been spraying outside and then bringing the pieces in to the living room on the wooden floor to 'stick' the batting, backing and quilt top together. A quilt ruler is really handy to smooth out any wrinkles, then it just needs a quick iron and it's ready to quilt! 


I haven't quite finished the daisy quilt yet, but I've quilted the Fibonacci quilt below. It was so nice to just quilt without stopping all the time to take pins out, which always made my lines go quite wonky. 

 I've yet to do a really big quilt, but I think I am a convert!


Tuesday, April 20, 2021

The Windflower Quilt

Introducing the Windflower Quilt!

The Windflower Quilt is a modern take on the Orange Peel block. Instead of sewing, or appliquéing curves, the blocks are foundation paper pieced. Then the blocks are all machine sewn together with sashing.
The finished quilt measures 57" (145cm) square which is perfect for a gift, a baby, a child, or on the couch or sofa.
I have included some instructions for foundation paper piecing, but I also have a simple tutorial here. 
You can use choose coordinating fabrics or scraps for the blocks. You could also choose 16 fat quarters and use the rest of them to make a scrappy binding.


The Windflower pattern is available now in my shop. 

Sunday, March 07, 2021

Through the Square Window

One of the first quilt patterns I wrote was the Through the Square Window pattern that uses layer cake or 10" squares. I thought it was time to redo the pattern with better illustrations and instructions.
I made this small version using Social by Melody Miller from Ruby Star Society.


I have made so many quilts from this pattern over the last 11 years. The medium size is perfect for as a lap quilt.

I have made so many small size versions over the years. They make a perfect baby gift. 
This pattern works with every layer cake and in every colour combination, and is the perfect pattern for a beginner quilter. 


Buy the pattern here!


Sunday, February 14, 2021

Foundation Paper Pieced Leaves

Foundation Paper Pieced Leaves in four sizes - 6" x 6", 8" x 8", 6" x 8" and 8" x 6".


Friday, January 08, 2021

Foundation Paper Piecing Tutorial


I wrote a foundation paper piecing tutorial a few years ago that was originally a free pattern on Craftsy. Ever since they removed all the patterns I have had it on my list to redo and add it to my blog. The very hot weather and inside time this week has given me the chance to get it done!
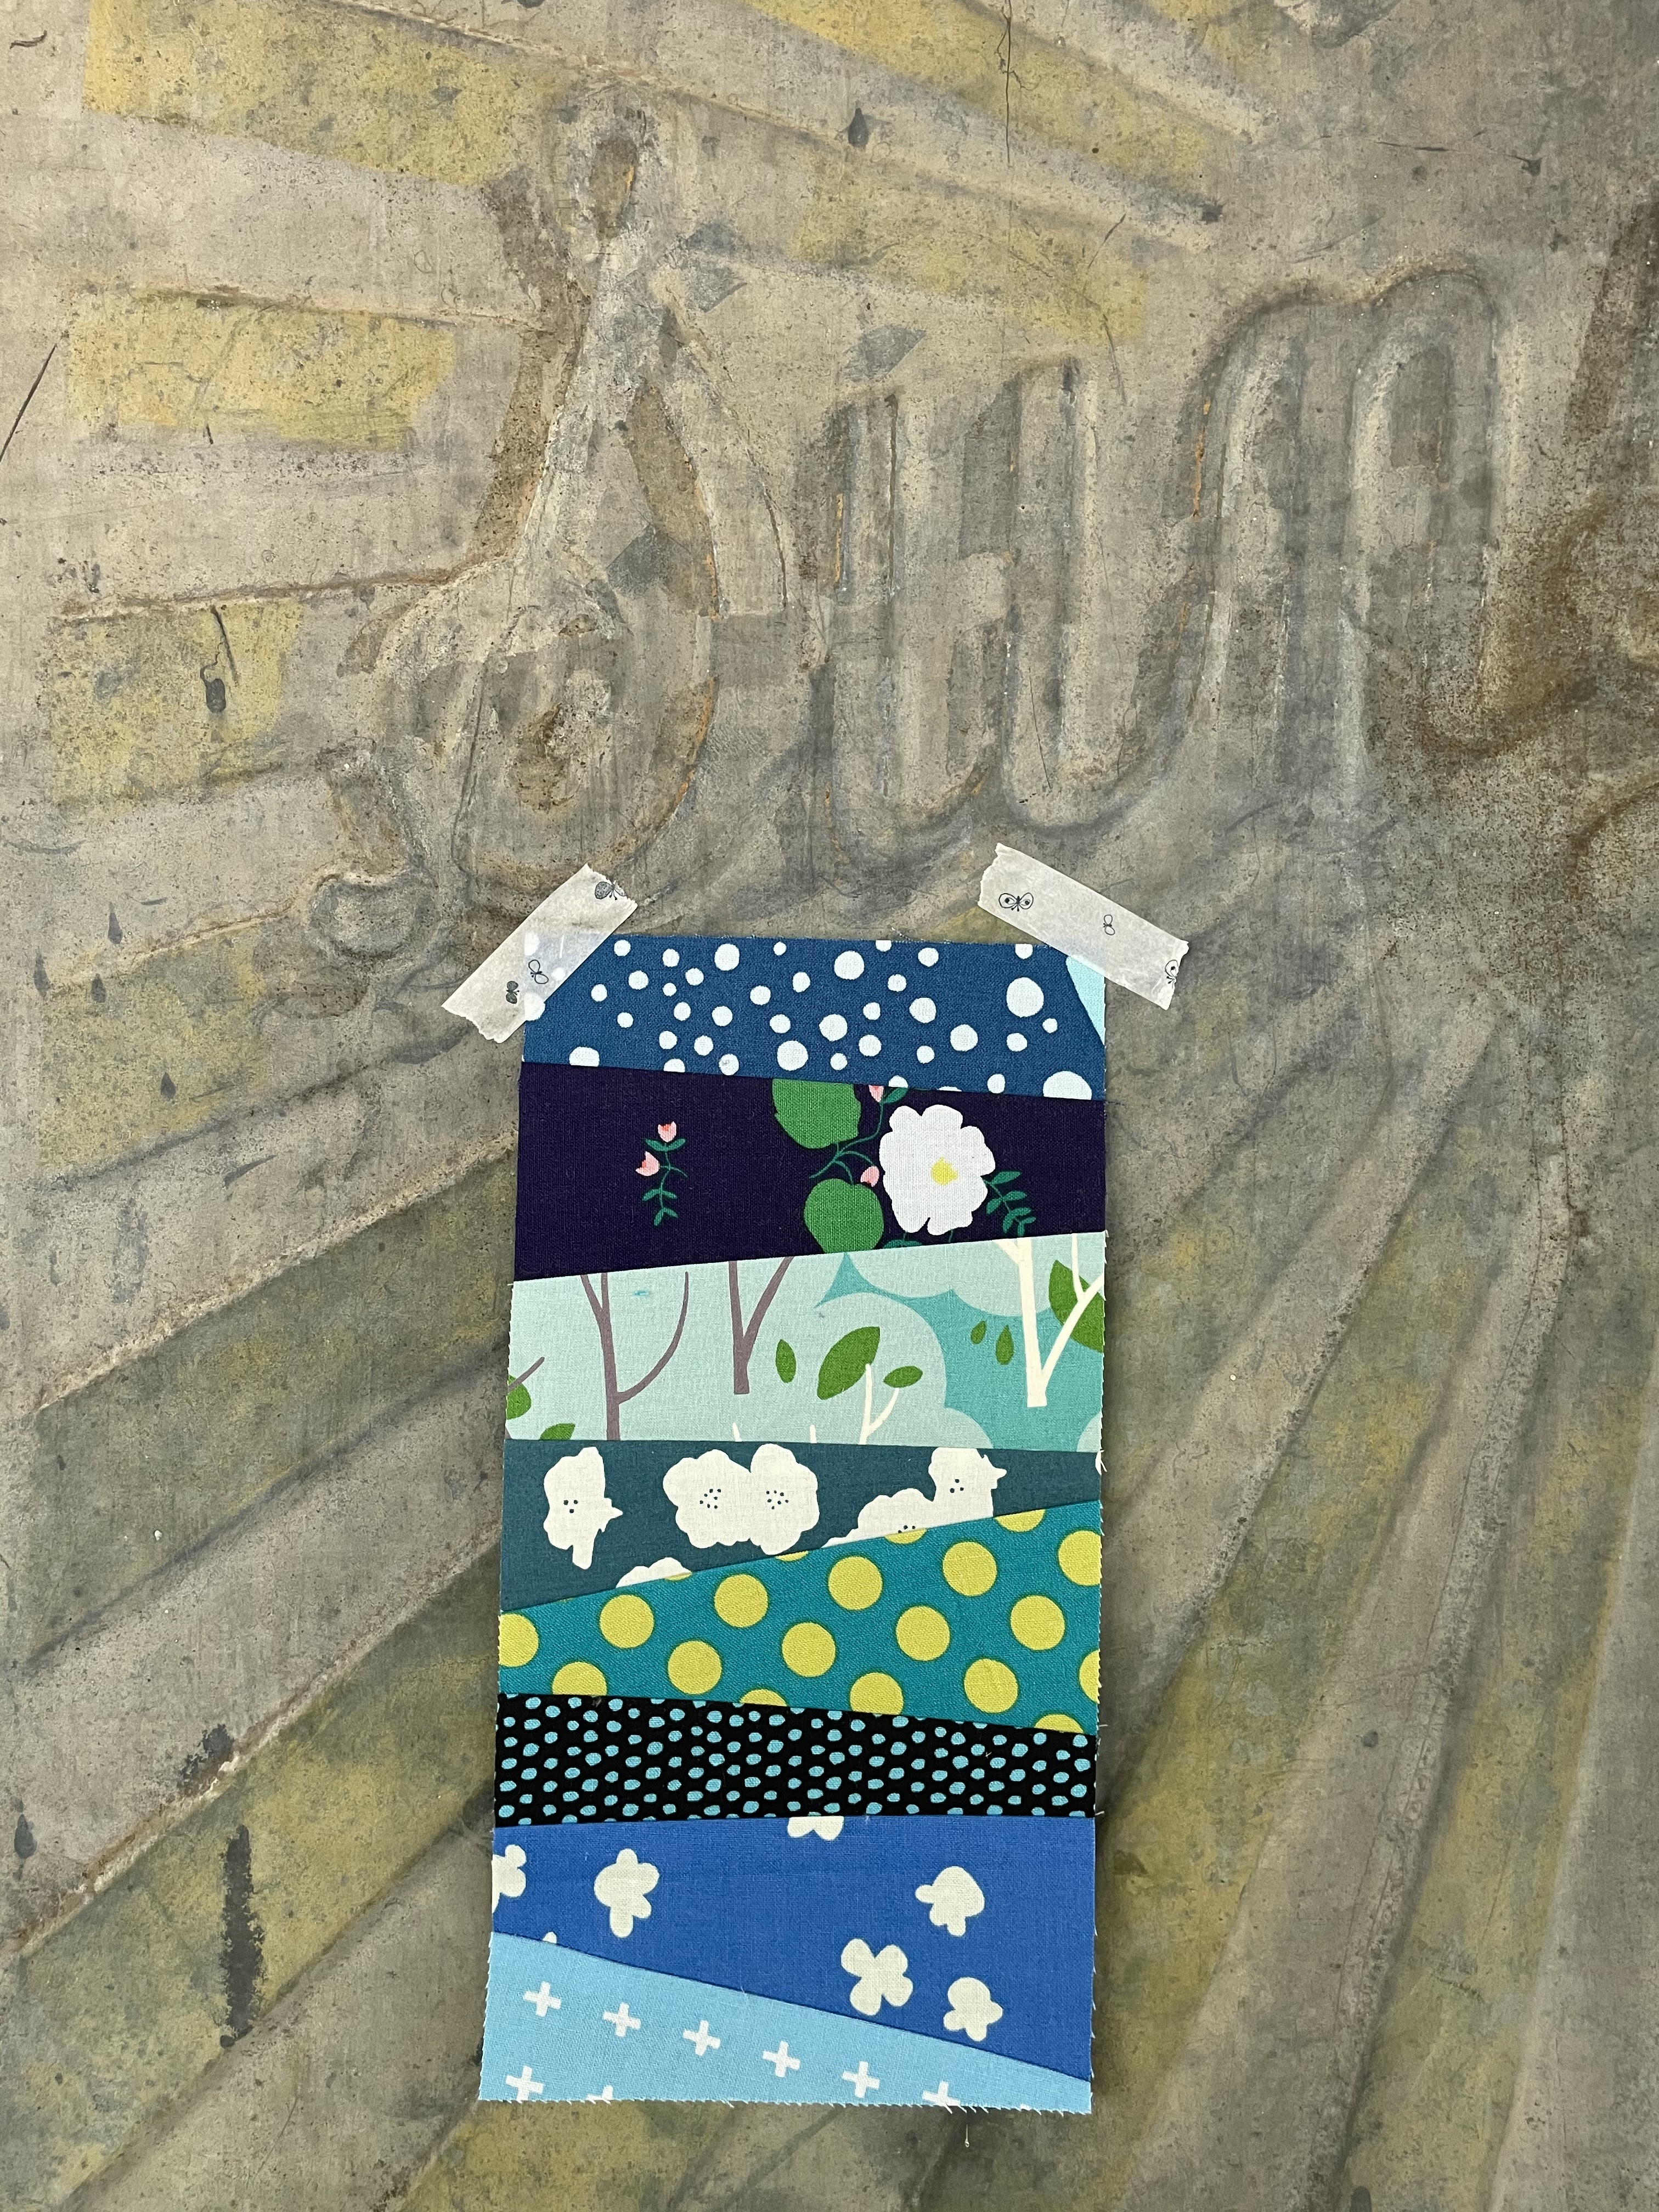
For the tutorial I am using this easy block which is is 4 1/2" x 9" finished, but you can scale it down (or up) if you wish. 


The template can be printed on either letter or A4 paper. The one on the left is printed on normal copy paper, which I find fine to use especially on larger blocks with bigger pieces. It is harder to rip, and I do not like using it when the block has small pieces, but it can be done. So if that is all you have then use it.   The one on the left is printed on Foundation paper which I bought at a patchwork shop. It is much easier to rip and use, but it can be expensive. 
After you have printed off the template cut around it leaving an extra 1/4" or so past the seam allowances. 
You really don't need any special equipment to do foundation paper piecing. You can get by with a rotary cutter, iron and a quilting ruler. but there are a couple of things I like that make it that little bit easier, such as a glue pen, roller and an 'add a 1/4 inch ruler'.
I used rectangular scraps to make my block. I just made sure that they were all bigger than the area I needed to cover.
On the wrong side of the fabric place one piece of fabric. Make sure it covers area 1, and extends past the stitching line by at least 1/4". I use a small bit of fabric glue to hold it in place.
Place a second piece of fabric on top with the right sides together
Pin it in place on the sewing side, and sew on the line. Don't sew over the pin!
I set my stitch length to 1.5 or 1.6 on my Bernina, which I think works out to 17 or 18 stitches per inch. Shortening the stitch length ensures that the paper is much easier to rip out at the end. 
Flip the second piece back over and make sure that it covers area 2. Press it flat. I like to use a roller (bought at a quilt shop) so I don't always have to go to my ironing board.
Fold down the paper on the stitching line between sections 2 and 3.
Trim the fabric, leaving a 1/4 inch for the seam allowance. 
You can use a quilting ruler, but I like this 'add a 1/4" ruler' ruler which has a 'lip' that sits perfectly on the paper and you get a perfect 1/4" seam allowance every time.
Place the next fabric on top, right sides together. Turn and pin. 
Sew on the line. Continue covering sections 4-8 until the block is filled. 
Press the entire block and turn to the sewing side to trim.
Trim the paper and fabrics on the outer seam allowance line.
Carefully remove the paper.
And the block is finished!
I made 10 blocks in a pink, grey and red colour way to make this mini-quilt!