I wrote a foundation paper piecing tutorial a few years ago that was originally a free pattern on Craftsy. Ever since they removed all the patterns I have had it on my list to redo and add it to my blog. The very hot weather and inside time this week has given me the chance to get it done!
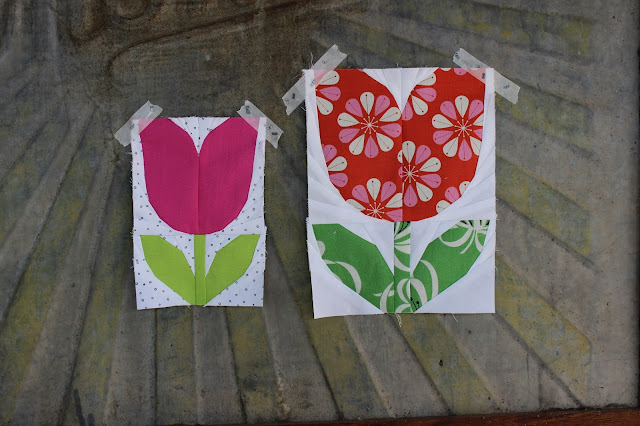
For the tutorial I am using this easy block which is is 4 1/2" x 9" finished, but you can scale it down (or up) if you wish.
The template can be printed on either letter or A4 paper. The one on the left is printed on normal copy paper, which I find fine to use especially on larger blocks with bigger pieces. It is harder to rip, and I do not like using it when the block has small pieces, but it can be done. So if that is all you have then use it. The one on the left is printed on Foundation paper which I bought at a patchwork shop. It is much easier to rip and use, but it can be expensive.
After you have printed off the template cut around it leaving an extra 1/4" or so past the seam allowances.
You really don't need any special equipment to do foundation paper piecing. You can get by with a rotary cutter, iron and a quilting ruler. but there are a couple of things I like that make it that little bit easier, such as a glue pen, roller and an 'add a 1/4 inch ruler'.I used rectangular scraps to make my block. I just made sure that they were all bigger than the area I needed to cover.
On the wrong side of the fabric place one piece of fabric. Make sure it covers area 1, and extends past the stitching line by at least 1/4". I use a small bit of fabric glue to hold it in place.
Place a second piece of fabric on top with the right sides together
Pin it in place on the sewing side, and sew on the line. Don't sew over the pin!
I set my stitch length to 1.5 or 1.6 on my Bernina, which I think works out to 17 or 18 stitches per inch. Shortening the stitch length ensures that the paper is much easier to rip out at the end.
Flip the second piece back over and make sure that it covers area 2. Press it flat. I like to use a roller (bought at a quilt shop) so I don't always have to go to my ironing board.
Fold down the paper on the stitching line between sections 2 and 3.
Trim the fabric, leaving a 1/4 inch for the seam allowance.
You can use a quilting ruler, but I like this 'add a 1/4" ruler' ruler which has a 'lip' that sits perfectly on the paper and you get a perfect 1/4" seam allowance every time.
Place the next fabric on top, right sides together. Turn and pin.
Sew on the line. Continue covering sections 4-8 until the block is filled.
Press the entire block and turn to the sewing side to trim.
Trim the paper and fabrics on the outer seam allowance line.
Carefully remove the paper.
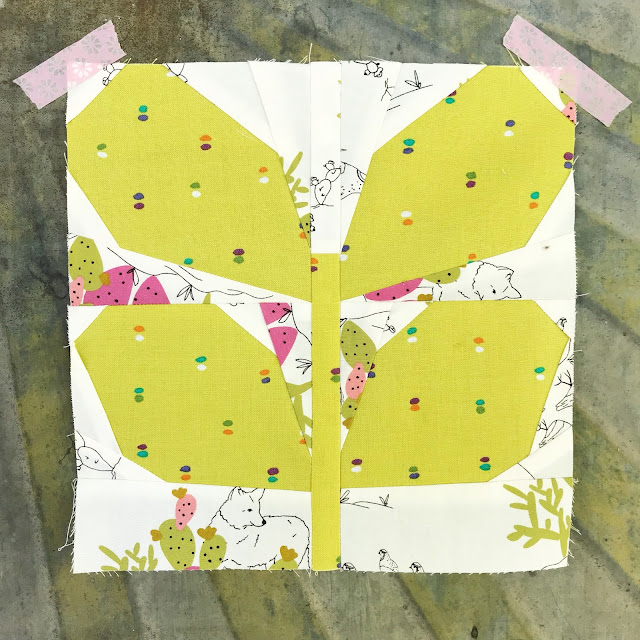
And the block is finished!
I made 10 blocks in a pink, grey and red colour way to make this mini-quilt!


